


Kevin went out of town about a week ago for two and a half weeks so I've been taking this time to tie up all sorts of loose ends. Sawhorses were in desperate need. Oh yeah, so was a shed. So I constructed one out of some of my scrap wood. Looks like a little red barn to me. All said and done it took less than 4 days and needs one more to finish it off. There's going to be a metal roof but I'm waiting to find some cheap scrap pieces to throw on there instead of buying new. I think. For now I have a tarp on top. Also, I need a bit more 1x4 to finish the sides, in addition to a door that I'll either need to find or make.
A couple added pluses, beyond having a dry place to store things as an alternative to the mess that was here before, is extra, and early--because it will be done before my house roof--rain catchment surface. Also, since it slopes from north to south, unlike my house's roof, I can mount my solar panels on top of it and store the battery and all that in the shed. I'd probably build an additional, more secure mini-area inside for all that though.
I saw an ad on craigslist for horse manure in the town closest to me, so picked up a total of four truck loads, including one load of aged compost. Along with the copious amounts of topsoil, old straw, and bountiful saved cardboard, not to mention the free mulch to be had at the dump, I will have some nice beds in the spring. For now I'm going to get one bed in in early September made from straw bales for insulation and with some plexiglass on top. A type of cold frame.
I've also been collecting rocks on my road for the curtain drain that my neighbor Tim will come dig over Labor day weekend. Once those trenches are dug, I'm going to lay my greywater plumbing. I was planning on running the pipe from both the kitchen (west side) and the bathroom (southeast) out to some mulch basins on the west where I will eventually, maybe even this fall, plant trees for a windbreak. I decided though that I'd rather do simpler and significantly cheaper plumbing with a less toxic plastic--1" HDPE vs. 1 1/2" ABS. The thing with HDPE is that is is flexible, and thus more difficult to get a perfect slope (it needs 1/4" per 1') especially over long runs. Also, there are no connectors for it that won't clog. So, if I use it it should be for a shorter distance and has to be straight. I'll experiment with it and test it before I cover it up. It means, though, that while my kitchen water could still go out to some western trees, my bathroom water would have to go south. Thinking of what to plant there. Maybe some pinons since they grow so slow.
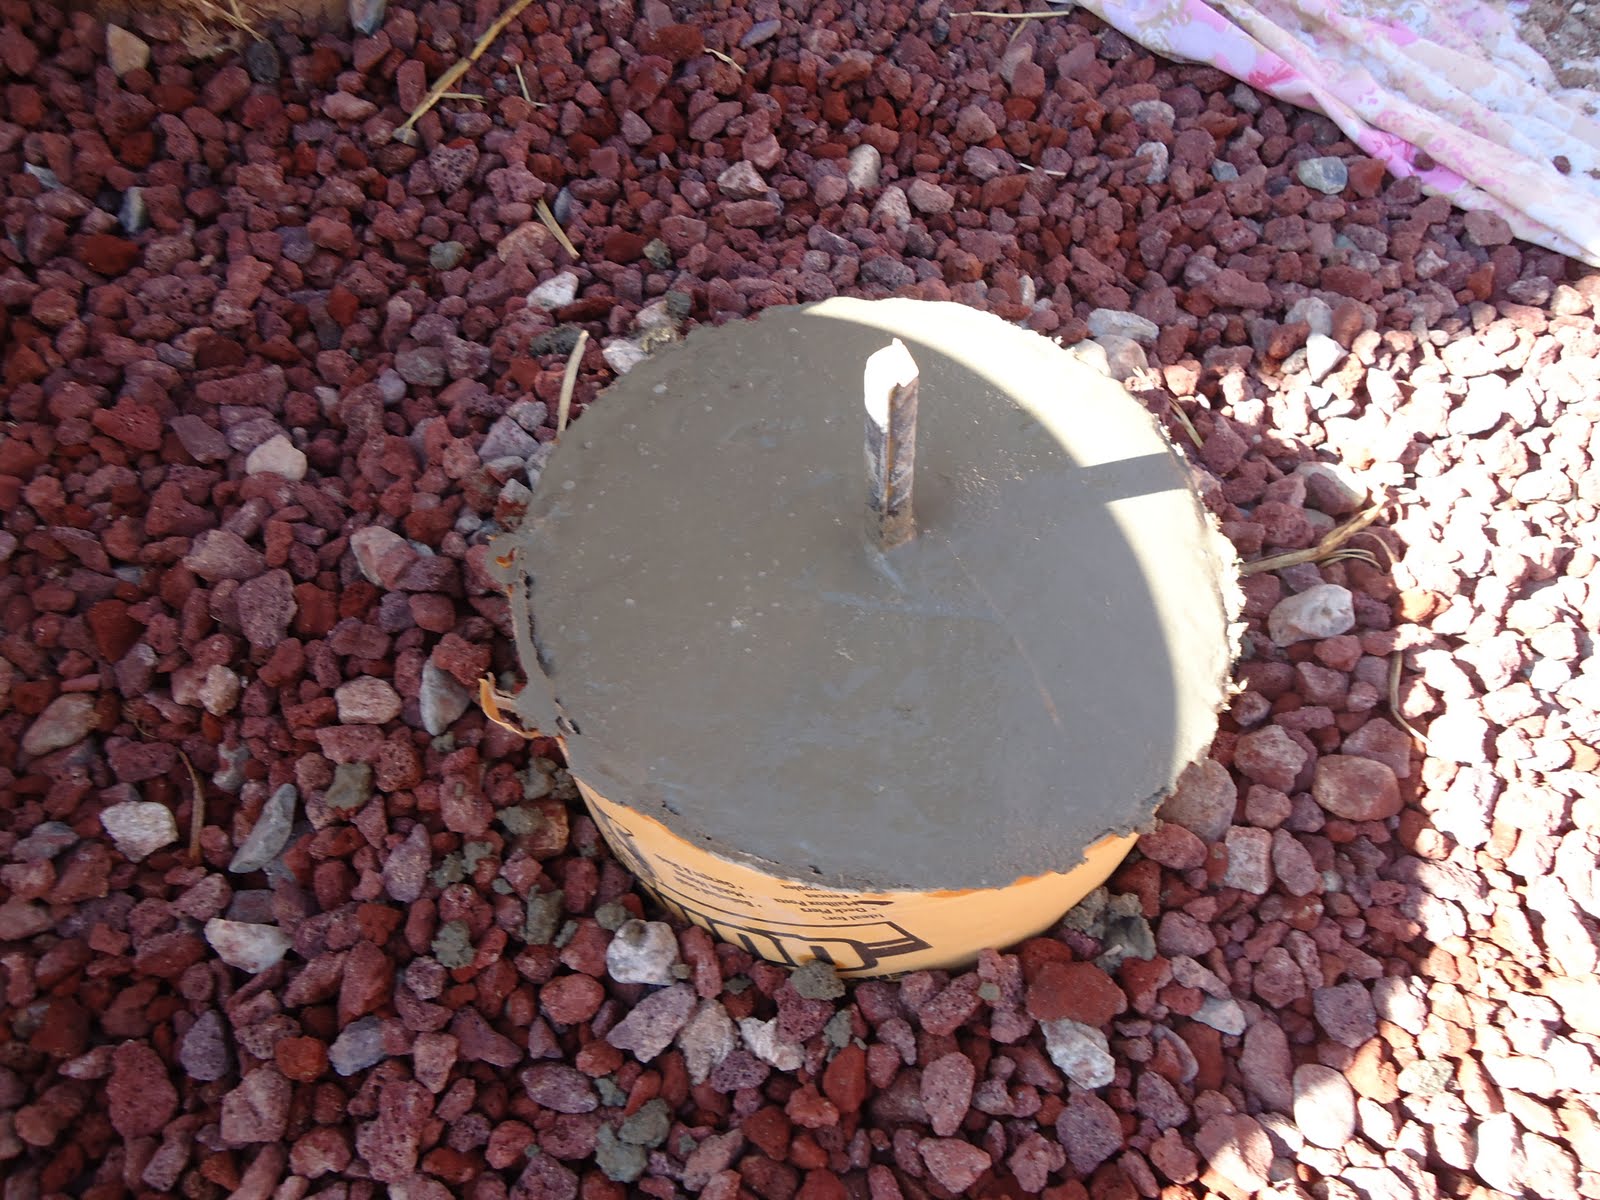
Also on the agenda was making two cement piers with sonotubes on either side of the door entrance (inside) to hold two vertical viga beams, which in turn will hold a horizontal beam. They will support the roof so that the area right above that large 5' opening will not be on its own. There are two pieces of 3' rebar pounded into the ground below each 8" diameter/10" high sonotube with chicken wire embedded for extra strength. Coming out of the top is a 1' piece of rebar (all of these are 1/2") which protrudes out the top. It will go into pre-drilled holes in the base of the vigas. I'm looking for some cheap 8" vigas to put on there. I'll probably use a dimensional beam from Olguin's for the horizontal beam. I had a bit of extra cement so used it to make a tamper that I've been meaning to make since...oh...April.


Wow, when you said you were working on "other projects," you really meant it!
ReplyDelete